Comic-Making Tutorial 008 - Light & Shadow

See the video HERE
-------
Hi folks, today we are going to be looking at lighting effects in GIMP. First a general word about lighting. If you want a realistic look to your scene, think about where the light source is. Objects will be lighter on the side facing the light source and darker on the opposite side. Shadows will point away from the light source. Keep this in mind for a consistent look.
SHADOWS & SHADING
The simplest way to create a shadow in GIMP is to select an area of the image and darken it. This gives a shadow with a sharp edge, which looks very dramatic if you have a strong light source.
If your object or character is on a layer above the background, this is easier to do because you can include the area behind the character. You don't have to worry about matching the edge of the shadow exactly to her foot.
Select the bg layer and pick the Free Select / LASSO tool. Draw the shadow. Press ENTER to complete. Now go to Colours, Brightness/Contrast and reduce Brightness. Click OK, then Select, None.
If you want a softer shadow you can do this using layers. Select your background layer, copy and paste as new layer. You now have two identical layers, one on top of the other. Select the lower one and darken it. Now select the top layer and pick the Eraser tool from the Toolbox. Choose a fuzzy edge to draw the shadow underneath your character. This is more appropriate for softer, more natural lighting.
What if you want to add a shadow the same shape as the object? You can also do this in layers, but it is a little more complicated.
Let's say you have a vehicle flying low above the ground.
First, copy the background and paste as new image. Darken this a few degrees.
Now go to your original vehicle image and select the negative space around it, which should be a solid colour.
Go back to the darkened background image and paste as new image. You now have stencil in the shape of the shadow you want. Lower this a little so it corresponds to where you want the shadow to be on the final image.
Now select all, copy visible, go back to the original bg image and paste as new image.
Now I want to delete everything except this spaceship shadow. I use the Free Select tool to select everything around the stencil then Edit, clear. Then I select the green stencil and again Edit, Clear.
For a more fuzzy shadow, select the layer of the shadow and Filters, Blur, gaussian blur.
SHADING OBJECTS
You can add shadows and shading to objects by selecting areas you want and darkening them. To do this precisely would be very difficult using the lasso tool, but much easier if we use layers again.
Select your image and copy, paste as new layer. Select the lower layer and darken it. Now you can use the eraser with a sharp or fuzzy edge to mark out shadows.
But what if you want to keep the shadow border within the borders of the image? There is a solution to that too: Select the negative space, copy, paste as new layer.
You now have a stencil layer, make sure it is on top. Now you can easily mark out shading and shadows on the middle layer without spoiling the look.
LIGHTING EFFECTS
You can add a soft, diffuse light to an image using the paintbrush with a fuzzy edge. Increase the size of the tool and decrease the opacity. Create a new, transparent layer first, and make sure it is on top.
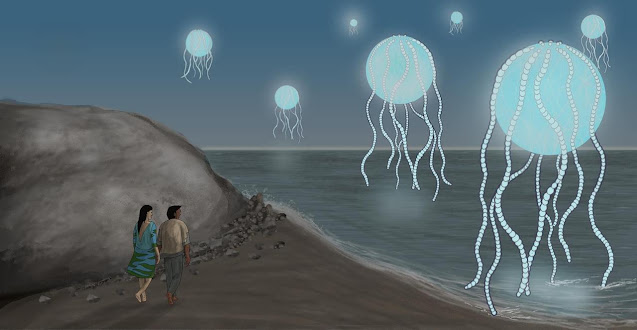
For a bright light you can use the supernova effect. (Filters, Light and Shadow, supernova) Increase the number of spokes to get a dazzling blast of light like an explosion. Don't forget to give any objects nearby sharp, black shadows pointing away from it for a dramatic look.
To create a path of light in an image, like light spilling from an open door into a darker space, we can do the opposite of the technique we used to create shadows. Copy the image, paste as new layer, darken the top image (or lighten the bottom one), then mark out the illuminated areas using the eraser, or by selecting it with the lasso and Edit, Clear.
For a 3D model in Blender you can make any surface 'shadeless' which gives it a flat, consistent lighting regardless of the light source in the model space. If you also decrease the light level in the model space by turning down the energy of the lamp, or just moving it further away, you get a glowing surface which can create a dramatic atmosphere. It is especially good for something like a TV or monitor screen in a dark room.
REFLECTIONS
To create a reflection of an object, Image, transform, Flip Horizontally. If it is a translucent or semi-reflective surface like shiny black metal or dark ice you can reduce the opacity of the image to make it look a little more realistic.
You can also flip it vertically for a vertical shadow such as a person walking on ice.
Bear in mind, though, that reflections show a three-dimensional perspective, so simply flipping the image will not always look natural.
FOCUS CONTROL
This is not simply a lighting technique but it is something you might find very useful.
You have a panel with a complex character in the foreground and a complex background behind it. This can be visually confusing, as a "loud" or "busy" background can tend to swallow up your foreground image. How do you make the character stand out more?
There are a couple of things you can do. You can sharpen the foreground image, but not by very much or it distorts the image.
A better solution is to make the background LESS sharp. (Filters, Blur, Gaussian blur.)
You can lighten the background to make it even fainter. (Colours, Brightness/Contrast)
You can also turn down the colour saturation. (Colours, Hue/Saturation)
All of these effects mimic the actual optical effects when you focus your eye - or a camera - on a nearby object.
The background goes out of focus, which almost creates a 3D effect. In landscapes especially, more distant objects will look not only less sharp but also fainter and less colourful.
That's all for now. I hope you found some of these tips useful. Play around with them to get the results you like.

Comments
Post a Comment